Introduction – Less clicking, more control
Printed electronics (PE) is now used more often – in flexible buttons, RFID labels, sensors, and HMI layers. We see it in home appliances, cars, and medical devices. For designers, this means new challenges. One CAD tool is not enough. You need programs that work with both graphics and printing, and that help control layers and production data.
At LC Elektronik, we help engineers pick the right formats, connect design files with production, and avoid mistakes caused by wrong tools. This article is our simple guide: what tools are useful and when to use them.
1. What tools does a PE designer need?
Designing PE is different from classic PCBs. It needs separate graphic files for each layer – like conductive, insulating, or printed graphic layers. The designer needs:
- A vector graphic editor – to draw screen print or digital print layers
- A 2D/3D CAD tool – to design shapes, holes, and mechanical outlines
- A data export tool – like DXF, PDF, or Gerber files with all layers
Most designers use a mix of graphic and CAD software, so it helps to know the pros and cons of each.
2. Tools overview – what they do
Designing PE is not just drawing lines or colors. Each tool has a job, and working together is key. When a product has both a printed layer and a graphic design, the engineer needs to switch between technical and visual thinking.
At LC Elektronik, many projects start in Illustrator, then move to Inventor, and finally go to production as DXF files. The tools must “talk” to each other – formats and layers must work well together. Below is a quick list of popular tools and how they help:
- Adobe Illustrator / Corel Draw – for graphic and functional layers. Full control of vectors, colors, and export for production.
- Autocad / Inventor – for mechanical shapes, holes, and cut lines. Easy export to DXF.
- SolidWorks – for 3D models. Good for housings, snap fits, and wire paths in flexible parts.
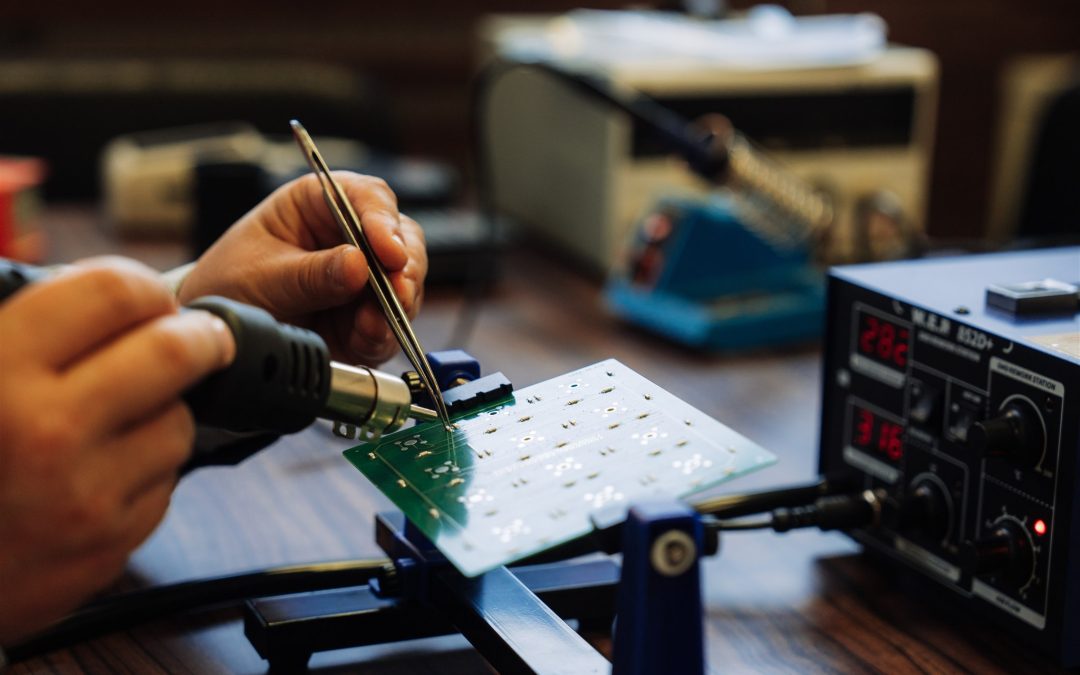
- Gerber (e.g. CAM350, Altium Designer) – for hybrid projects using PE and classic PCB.
3. Which tools for which stage?
It’s smart to split the project into 4 parts – each needs different tools.
Idea stage – Fast sketches. Use Illustrator or Corel + simple drawings. You don’t need exact sizes yet – focus on layout and concept.
Technical stage – Now it’s time to create real files. Use Autocad for outlines, Illustrator for layers. Combine them as PDF or DXF. Make sure the formats match and nothing overlaps.
Testing stage – After printing test pieces (on PET, PC, or special films), check ink and layer quality. Use 3D models (Inventor or SolidWorks) to check shape and strength.
Production stage – Prepare everything for the factory. Export DXF files, include checklists, layer order, ink codes, drying times, and tolerances.
4. How we do it at LC Elektronik
We combine data from different design programs so that every file is ready for printing and safe for production.
For example, if a client sends files from Corel Draw, we check and add missing information in Illustrator. We make sure layers and ink settings are correct.
If the design has mechanical parts (holes, shapes), we take files from Inventor or SolidWorks and combine them into one master DXF. This file is ready for printing, drying, and cutting.
We also create a “tech info” layer – with ink codes (like Henkel PE 725A), drying temperature and time (e.g. 130°C for 15 minutes), and tolerance info. All this goes into a PDF for the client, so they can check everything easily.
We help designers with:
- preparing print layers
- optimizing trace layout
- checking if files are good for production (wrong shapes, overlaps, scale problems)
We don’t force you to use one tool – we work with what you already use.
Summary
Working with PE is not about “do you use Illustrator or Autocad”. It’s about whether your tools help you – or make your work harder.